Home » Personal Dose Monitors in Radiology
Our focus on Personal Dose Monitors
Proper use of Personal Dose Monitors (PDM) and control tags is essential in radiology and diagnostic imaging.
In this blog, we will discuss how to prevent common errors that lead to inaccurate radiation dose reporting in your clinic.

Sam, Medic Cloud Managing Director
Prioritising radiation safety in diagnostic imaging
In any healthcare setting that uses x-ray equipment — from dental surgeries to radiology departments — radiation safety should always be a key concern. One of the most reliable ways to monitor and manage exposure is by correctly using PDMs, also known as radiation badges.
At Medic Cloud, we regularly assist clinics across Australia with maintaining compliance under ARPANSA guidelines. A common issue we encounter is the incorrect handling of control tags, which can lead to misleading dose readings and undetected radiation leaks.
In this article, we’ll explain how PDMs function, the purpose of the control tag, and why it should never be kept near the x-ray room.
What are Personal Dose Monitors?
PDMs are small wearable devices assigned to staff working in environments where ionising radiation may be present, such as:
-
Radiology and imaging clinics
-
Dental practices
-
Veterinary hospitals
-
Mobile imaging units
These devices measure the cumulative radiation dose a staff member receives over a specified period — typically one to three months — helping facilities comply with occupational exposure limits under Australian regulations.
Usually supplied by ARPANSA or other accredited providers, PDMs are returned after the monitoring period for professional analysis.
What is a control tag and why is it esssential?
Each batch of PDMs includes a control tag, which is not worn. Its purpose is to measure background radiation only, including:
-
Natural cosmic radiation
-
Environmental exposure during transport (such as postal handling or airport security scans)
Why the control tag matters
The control tag provides a baseline reading, which is subtracted from each worn badge to determine the true occupational exposure:
Wearer Tag Reading – Control Tag Reading = Occupational Dose
Without an accurate baseline, the dose reading can become skewed — potentially hiding unsafe conditions.
The common mistake: storing the control tag near radiation sources
Many clinics unknowingly store the control tag inside or near the x-ray room — often at the operator console or next to imaging equipment. This is a critical mistake.
If the control tag is exposed to even minimal radiation — such as stray scatter or leakage — it will register a higher reading. Since ARPANSA assumes the control tag has only measured background radiation, any additional dose it receives will falsely reduce the calculated occupational exposure.
Example:
-
Wearer tag reading: 4.0 mSv
-
Control tag reading: 3.8 mSv (due to unintended exposure)
-
Calculated dose: 0.2 mSv
In reality, the worker may have received a dose close to 4.0 mSv, but the report will suggest a much safer value — potentially allowing exposure issues to go unnoticed.
Best practice: Where to keep the control tag
To ensure accurate radiation reporting, always follow these storage guidelines:
You can do this:
-
Store the control tag well outside any x-ray exposure area
-
Choose a low-radiation location, such as:
-
The reception desk
-
The staff room or admin office
-
A secured drawer away from imaging equipment
-
Don’t do this:
-
Store the control tag:
-
Inside the x-ray room
-
Near the operator console or imaging panel
-
On or near lead shielding
-
Inside lead aprons or protective garments
-
Why it matters: Compliance, safety, and legal protection
Incorrect control tag placement can lead to:
-
Underreported radiation exposure
-
Missed detection of equipment faults (e.g., shielding failures or leakage)
-
A false sense of compliance with ARPANSA standards
This puts your clinic at risk of:
-
Regulatory breaches
-
Increased health risks to staff
-
Legal liabilities in cases of overexposure
At Medic Cloud, we support clinics throughout Australia with radiation safety audits, preventative maintenance, and guidance on compliance workflows.
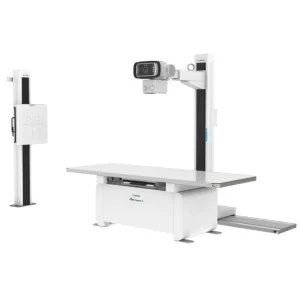
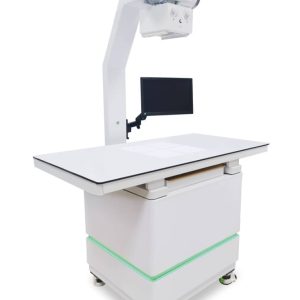
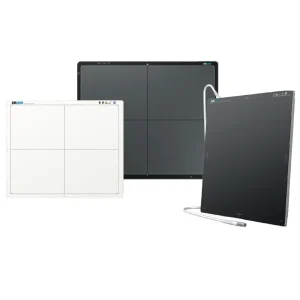
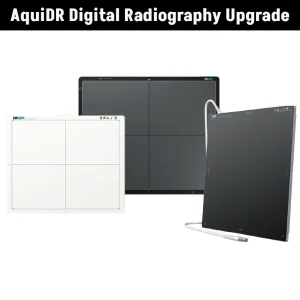
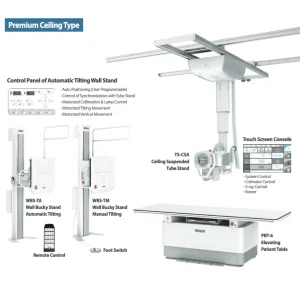
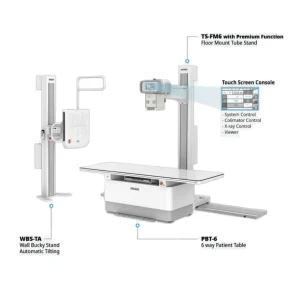
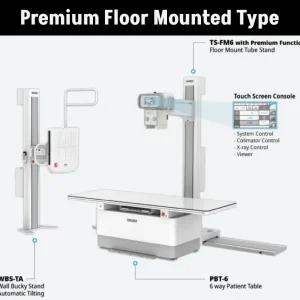
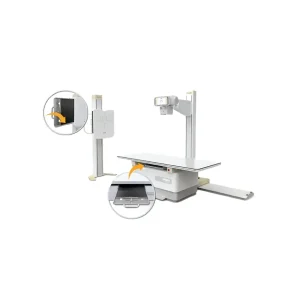
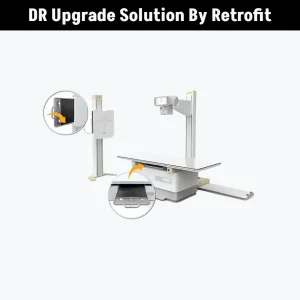
Radiography systems we offer


Chiropractic


Chiropractic


DreamPlus
Chiropractic

DRGEM
Final takeaway: The control tag is a calibration tool — not just an extra badge
The control tag is not an optional accessory — it’s a critical reference point that ensures your dose readings are accurate and trustworthy. If it’s exposed to radiation, your safety protocols are compromised.
Add the following checks to your routine:
-
Confirm the control tag is stored in a low-exposure area
-
Ensure all PDMs are returned on schedule
-
Educate staff on proper badge placement and usage
Need help with radiation safety or compliance?
At Medic Cloud, we offer tailored support to clinics across Australia — from x-ray compliance testing and equipment servicing to staff training on best practice PDM workflows.
Get in touch today to book a consultation or discuss how we can support your team’s safety and compliance goals.
Read more blogs


Subscribe to Medic Hub
Get the latest insights direct to your inbox.